
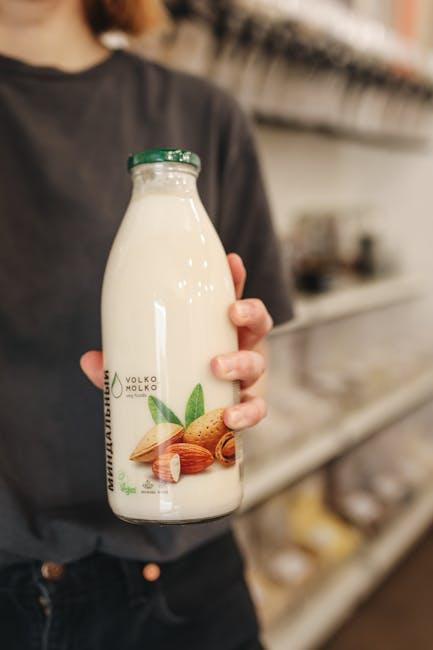
In the bustling world of plant-based alternatives, almond milk has emerged as a beloved staple, captivating the taste buds of both vegans and non-vegans alike. Its creamy texture and subtle nutty flavor make it a versatile addition to everything from morning coffee to decadent desserts. But what if you could bypass the store-bought varieties and create your own almond milk at home? For beginners, the thought might seem daunting, but fear not. This guide will gently lead you through the simple, rewarding process of crafting your own almond milk, allowing you to tailor each batch to your taste and dietary needs. Embrace the journey from raw almonds to a silky-smooth beverage, and discover the joys of homemade goodness with every sip.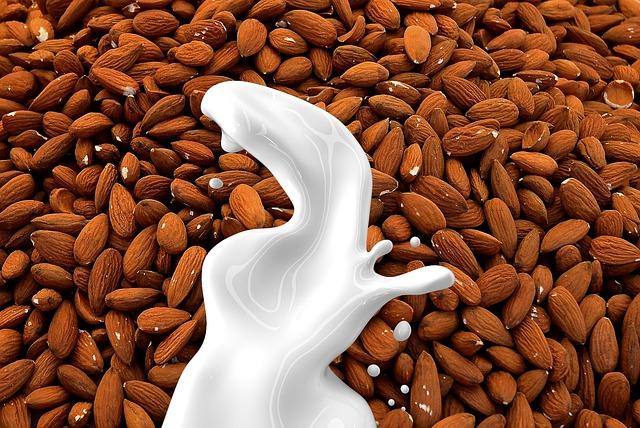
Selecting the Perfect Almonds for Creamy Results
To achieve the most luscious and creamy almond milk, the selection of almonds plays a pivotal role. When at the store or market, look for almonds that are raw, organic, and unroasted. These almonds retain their natural oils and flavors, which are essential for a smooth texture and rich taste. It’s best to avoid almonds that are salted or flavored, as these can alter the final product’s flavor profile.
- Raw almonds: Ensure they are free from additives and preservatives.
- Organic: Opt for organically grown almonds to reduce exposure to pesticides and chemicals.
- Unroasted: Preserve the pure almond taste and natural creaminess.
By choosing high-quality almonds, you’re laying the foundation for a delightful homemade almond milk experience. This careful selection not only enhances flavor but also maximizes nutritional benefits, ensuring your almond milk is as wholesome as it is delicious.
Soaking Secrets for Maximum Flavor Extraction
Unlock the hidden flavors of almonds with the art of soaking. Soaking is not just a preliminary step; it’s a transformative process that elevates your homemade almond milk from ordinary to extraordinary. Start by submerging raw almonds in a bowl of fresh, filtered water. Allow them to rest overnight, giving them at least 8-12 hours to absorb the liquid and swell to their full potential. This soaking period softens the nuts, making them easier to blend and enhancing their natural creaminess. As they soak, the almonds release phytic acid, which can inhibit nutrient absorption, ensuring that your almond milk is not only delicious but also nutrient-rich.
When you’re ready to blend, rinse the almonds thoroughly to wash away any lingering residues. Pro tip: Use a touch of salt in the soaking water to draw out even more flavor. The result is a smoother, richer almond milk that captures the essence of the nuts. Consider adding a splash of vanilla extract or a hint of sweetener to accentuate the flavors further. With these soaking secrets, each sip of your almond milk will be a testament to the power of patience and preparation.

Blending Techniques for a Silky Smooth Texture
Achieving a velvety consistency in homemade almond milk hinges on mastering a few essential blending techniques. Start by soaking your almonds overnight; this not only softens them but also enhances the creaminess of the milk. Once ready, drain and rinse the almonds thoroughly before blending. Use a high-speed blender to pulverize the nuts into a fine mixture. It’s crucial to blend the almonds with fresh, cold water, which helps in maintaining the milk’s freshness and flavor.
To ensure a silky smooth texture, consider straining the blended mixture through a nut milk bag or a fine cheesecloth. This step removes any residual pulp, leaving behind only the smooth, luscious liquid. Here are some tips for optimal results:
- Blend on high speed for at least 1-2 minutes to fully break down the almonds.
- Use a ratio of 1 cup of almonds to 3-4 cups of water for a balanced consistency.
- For added flavor, toss in a pinch of salt or a splash of vanilla extract before blending.
Remember, the key to perfect almond milk is patience and precision in the blending and straining process, resulting in a delightfully creamy drink that can be enjoyed on its own or as a versatile ingredient in various recipes.

Straining Methods to Achieve Pure Almond Milk
Creating a silky, creamy almond milk starts with effective straining techniques that ensure a smooth texture and rich flavor. Once you’ve blended your soaked almonds with water, it’s time to separate the liquid from the pulp. Here are some popular methods to achieve that perfect consistency:
- Nut Milk Bag: This is a favorite among almond milk enthusiasts. Simply pour the blended mixture into the bag over a bowl, and gently squeeze the bag to release the liquid. The fine mesh fabric captures even the smallest almond particles, ensuring a smooth finish.
- Cheesecloth: For a DIY approach, cheesecloth works wonders. Layer it over a strainer and pour the mixture through. Gather the edges of the cloth and twist to wring out every drop of liquid, leaving behind a perfectly strained milk.
- Fine Mesh Strainer: If you prefer a tool that’s already in your kitchen, a fine mesh strainer can do the trick. Although not as effective as the first two methods, it still filters out most of the almond pulp, providing a decent texture.
For an extra touch of refinement, consider a second straining using a finer material or repeat the process for an ultra-smooth result. Remember, the key is gentle pressure to avoid pushing pulp through your straining tool.
The Way Forward
As you venture into the world of homemade almond milk, remember that every batch is a blend of simplicity and creativity, offering a blank canvas for your personal touch. Whether you savor it in its pure form or experiment with flavors and textures, each glass is a testament to your journey toward mindful nourishment. With just a handful of almonds and a splash of curiosity, you’ve unlocked a new realm of possibilities in your kitchen. So, pour yourself a glass, relish the freshness, and celebrate the small, rewarding steps you’ve taken toward a more homemade and wholesome lifestyle. Cheers to new beginnings and the delicious adventures that await!