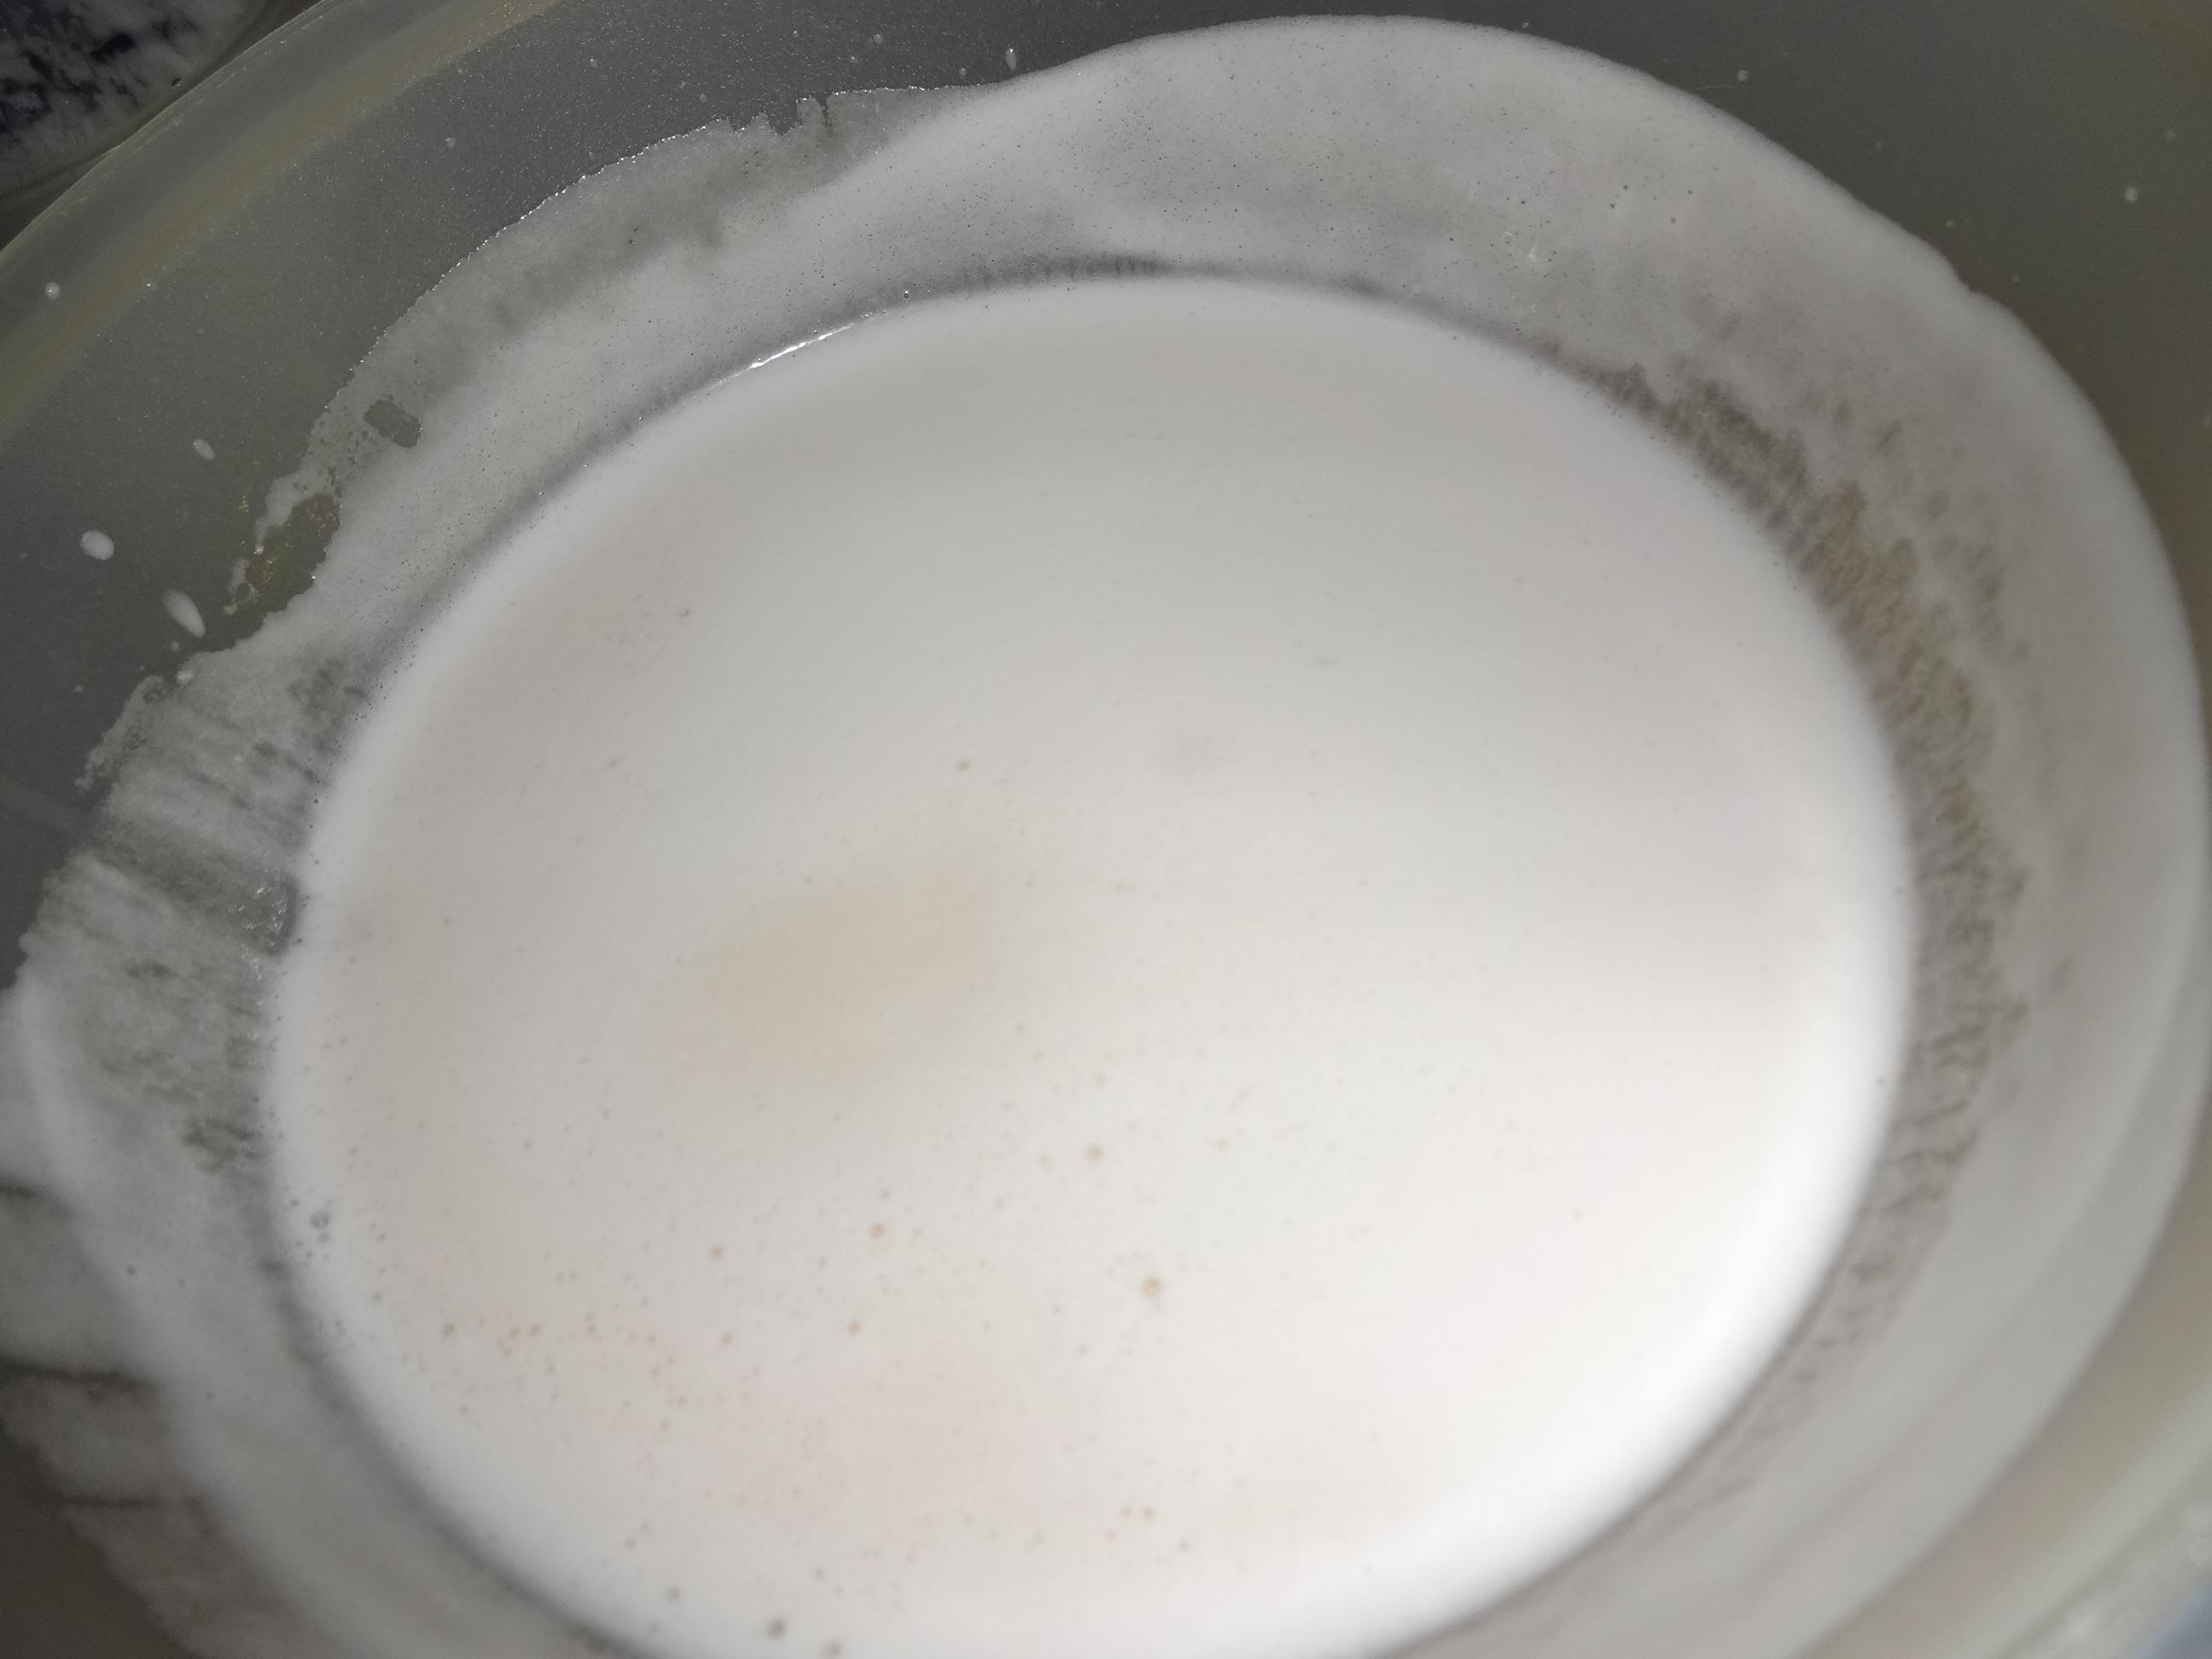
In a world where culinary creativity meets the quest for healthier living, almond milk has emerged as a popular alternative to traditional dairy. Its creamy texture and subtle nutty flavor have won over the hearts of many, becoming a staple in kitchens around the globe. But what if you could elevate your almond milk experience by crafting your own, right at home? In just a matter of minutes, you can transform a handful of almonds into a refreshing and nutritious beverage, free from additives and tailored to your taste. Whether you’re a seasoned plant-based enthusiast or simply curious about homemade alternatives, this guide will walk you through the simple steps to create your own almond milk, bringing the farm-to-table concept right to your doorstep. Let’s embark on this delicious journey and discover how easy it is to make your own almond milk in minutes.
Selecting the Perfect Almonds for Creamy Results
When it comes to crafting your own almond milk, the quality of almonds you choose can significantly impact the creaminess and flavor of the final product. To achieve that velvety texture and rich taste, consider the following tips:
- Organic over Conventional: Opt for organic almonds to ensure you’re not introducing any unwanted pesticides or chemicals into your milk. This not only enhances the taste but also supports a healthier lifestyle.
- Raw is Best: Select raw almonds instead of roasted or salted varieties. Raw almonds retain their natural oils and nutrients, providing a more authentic and wholesome flavor.
- Freshness Matters: Check for freshness by looking for almonds that are uniform in color and free from any dark spots or rancid odors. Fresh almonds will produce a milk that’s both sweet and aromatic.
- Size and Shape: While any size will work, larger almonds often yield a creamier milk. However, consistency in shape ensures even soaking, which is crucial for smooth blending.
By paying attention to these details, you’ll be well on your way to creating a delightful and creamy almond milk that stands out in both taste and texture.

Blending Techniques for Smooth and Velvety Texture
Achieving that coveted smooth and velvety texture in your homemade almond milk is an art that requires a bit of finesse. Here are some expert tips to help you master the perfect blend:
- Soak your almonds overnight: This crucial step softens the almonds, making them easier to blend and helping to release their creamy essence. Aim for at least 8-12 hours of soaking.
- Blend with precision: A high-speed blender is your best friend when it comes to creating a silky texture. Start at a low speed and gradually increase to high, blending for at least 1-2 minutes until you achieve a smooth consistency.
- Strain for perfection: Use a fine mesh strainer or a nut milk bag to separate the pulp from the liquid. This step ensures your almond milk is free from any grainy bits, resulting in a flawless, velvety finish.
- Experiment with flavors: For an extra touch of luxury, consider adding a pinch of sea salt, a splash of vanilla extract, or a hint of honey to enhance the natural taste of your almond milk.
With these techniques, you’ll not only create almond milk that’s a joy to drink but also a versatile ingredient for your culinary adventures.

Straining Methods to Achieve Pure Almond Milk
To achieve a silky-smooth almond milk texture, the straining process is crucial. Once you have blended your soaked almonds into a creamy consistency, it’s time to remove any remaining pulp. Start by placing a fine-mesh sieve over a large bowl or pitcher. Line the sieve with a piece of cheesecloth or a nut milk bag. Carefully pour the almond mixture into the sieve, allowing gravity to do most of the work.
For those who prefer a more hands-on approach, gently gather the edges of the cheesecloth or bag and twist them together, squeezing out every last drop of liquid. This ensures that your homemade almond milk is not only pure but also incredibly smooth. Consider these additional tips for the best results:
- Double straining: For an ultra-fine texture, strain the milk twice, using a fresh cheesecloth or nut milk bag for the second pass.
- Opt for a nut milk bag: These are specifically designed for this purpose and often result in a smoother finish compared to cheesecloth.
- Refrigerate immediately: To preserve freshness and enhance the creamy texture, chill the strained milk as soon as possible.

Storing Your Homemade Almond Milk for Freshness
To ensure that your freshly made almond milk remains as delightful as when first blended, proper storage is essential. First and foremost, always use a clean, airtight glass jar or bottle. This helps maintain the milk’s freshness and prevents it from absorbing any unwanted odors from the refrigerator. Secondly, remember to label your container with the date it was made, as homemade almond milk typically stays fresh for about 3 to 5 days.
- Shake it up: Natural separation is normal, so give it a good shake before each use.
- Keep it cool: Store your almond milk in the coldest part of your fridge, ideally not on the door.
- Freshness check: Always smell and taste before use; a sour scent or flavor indicates spoilage.
Pro tip: Consider freezing any excess almond milk in ice cube trays. This not only extends its shelf life but also offers convenient portion sizes for smoothies or recipes, ensuring nothing goes to waste.
Concluding Remarks
In a world where convenience often trumps quality, the simplicity of crafting your own almond milk offers a refreshing return to authenticity. As you embark on this culinary journey, remember that each batch is not just a recipe but a personal creation, tailored to your taste and lifestyle. Whether you savor it in a morning smoothie, pour it over cereal, or simply enjoy it chilled by the glass, your homemade almond milk is a testament to the power of mindful choices. So, the next time you find yourself reaching for a carton on the store shelf, pause and consider the satisfaction of sipping on something crafted by your own hands. Here’s to more moments of creation, one nutty endeavor at a time.


